
DIY Garage Shelving Plans
Garage shelves built from 2x4s and OSB are cheap, strong and easy to size to your wall. This guide walks through the build and shows the real cut list and cost for an 8-foot, four-shelf unit you could finish in a weekend.
Open the free planner Free · no sign-up · opens with an 8 ft wall, 72″ tall (change it once it opens)
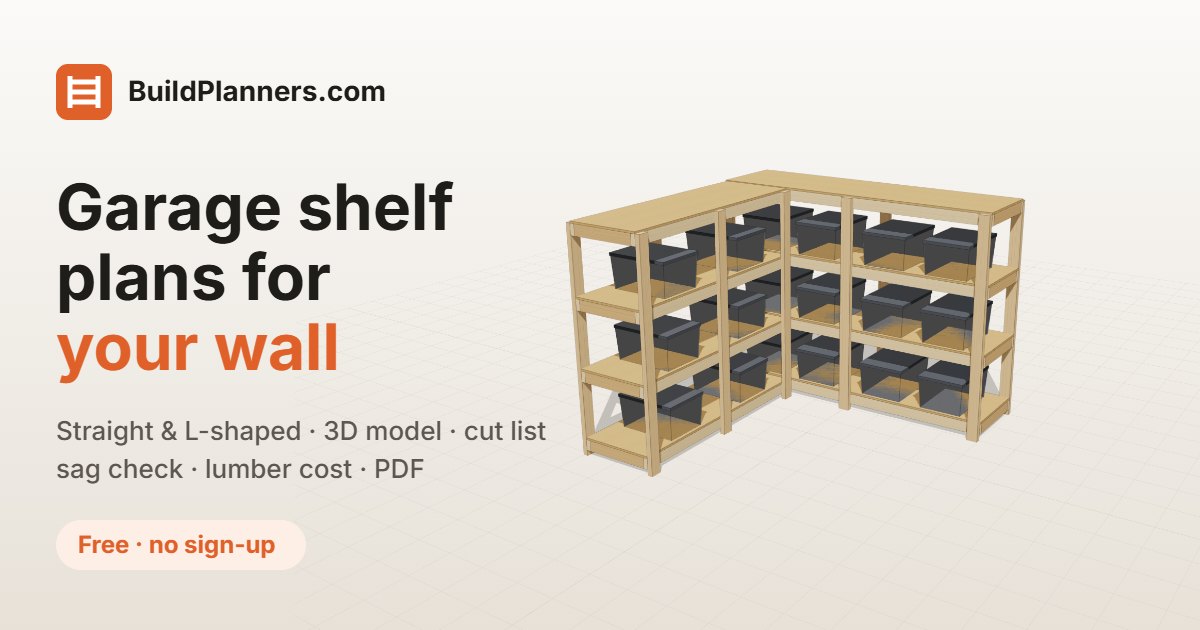
What you'll need
Materials
- 22 two-by-fours, 8 ft long (posts, rails and joists)
- Three sheets of 5/8″ OSB, 4×8 ft (the shelf decks), or plywood
- Screws: 3″ structural, 1 5/8″ for the decking and 1 1/4″ for the brackets
- 48 face-mount joist hangers for 2x4 (Simpson LU24 or similar), with 1 lb boxes of 10d × 1 1/2″ connector nails
- 3 wall anchor brackets or straps
Tools
- Miter saw or circular saw
- Drill/driver
- Tape measure, speed square and level
- Stud finder
- Clamps
Quantities above are for the 8 ft, two-section, four-shelf example. A longer wall, more shelves or an L-shaped corner adds sections, and the planner recalculates every part.
Step-by-step overview
- Measure your wall and set limits. Measure the length, depth you can spare, and the ceiling height. The planner accepts space limits for width, depth and height, so the design stays inside the room you have.
- Choose sections and shelf type. Each section can be open shelves, tote shelves sized to your bins, or a workbench section. Pick how many shelves each one gets and how deep they are.
- Cut all parts from the cut list. Cut posts, rails and joists, and mark each piece with its section number so nothing gets mixed up.
- Build each shelf frame. Make a rectangle from two 2x4 rails on edge with joists between them, one at each end and no more than 24″ apart. Nail a joist hanger to the rail at each joist end and set the joist in it, with hanger nails in every hole. Check the diagonals match.
- Mark the posts. Mark the top of each rail on the posts using the planner’s shelf-height table. A post shared by two sections carries the marks of both.
- Assemble one section at a time. Lay the back posts down and screw each frame’s back rail to them with two 3″ screws at every crossing. Stand it up and add the front posts the same way. Each new section shares the back post of the one before it.
- Add the shelf decks. Check everything is plumb, then screw the OSB to the rails and joists every 8″.
- Anchor to the wall studs. Find the studs and fasten the top back rails to them with brackets or straps, at least one per post line. Then load heavy items on the lower shelves.
Example cut list and cost
These numbers are the planner’s default design: two 48″ sections, four shelves each, 96″ long × 27″ deep × 72″ tall. That is 64 square feet of shelf space, and the planner estimates the weakest shelf at about 460 lb.
Cut list
| Part | Material | Qty | Length |
|---|---|---|---|
| Post | 2x4 | 6 | 71 7/16″ |
| Rail | 2x4 | 16 | 48″ |
| Joist | 2x4 | 24 | 21″ |
| Shelf deck | OSB 5/8″ | 8 | 48″ × 24″ |
That is 54 pieces, packed onto 22 boards and 3 sheets.
Shopping list and cost
| Item | Qty | Cost |
|---|---|---|
| 2x4 × 8 ft | 22 | $87.56 |
| 19/32″ (5/8) OSB 4×8 sheet | 3 | $74.94 |
| Screws 3″ (box ≈ 72) | 2 | $23.96 |
| Screws 1 5/8″ (box ≈ 170) | 2 | $23.96 |
| Screws 1 1/4″ (box ≈ 215) | 1 | $11.98 |
| Face-mount joist hangers (Simpson LU24 or similar) | 48 | $71.04 |
| Connector nails, 10d × 1 1/2″ (1 lb box) | 4 | $39.92 |
| Wall anchor bracket (L-bracket / strap) | 3 | $11.94 |
| Estimated total (before tax) | $345.30 | |
Lumber and sheets are $162.50. The whole unit works out to about $5.40 per square foot of shelf. Prices are typical big-box defaults, so adjust them in the planner for your area.
Tips and common mistakes
- Anchor it to the wall. Loaded shelves can tip forward, especially when the top shelves are heavy. Fasten into studs, never just drywall.
- Keep heavy things low. Put tools, paint and full totes on the bottom shelves and light, bulky items on top.
- Check square and plumb as you go. Equal diagonals on every frame, and a level on every post, are what make the shelves sit flat.
- Watch the garage floor. Concrete floors are often sloped toward the door. Shim the posts or build to the high side so shelves do not lean.
- Allow for the garage door and cars. Measure where the door tracks, openers and car doors reach before you pick a depth. Shelves 16″ deep leave more room than 24″.
- Use the load number as a guide. The capacity is an estimate for evenly spread weight. Concentrated loads, long spans and weak fasteners all reduce it.
Frequently asked questions
How much does it cost to build garage shelves?
The 8-foot, four-shelf example costs about $345 at typical big-box prices, including the joist hangers. That works out to roughly $5.40 per square foot of shelf.
How much weight can 2x4 garage shelves hold?
The planner estimates each shelf from its span, depth and the joist spacing. The default design comes out at about 460 lb on the weakest shelf, if the weight is spread evenly. Shorten the span or add joists for more.
Can I build an L-shaped corner unit?
Yes. The planner supports straight and L-shaped layouts with sections on both walls, and you can mix open shelves, tote shelves and a workbench section.
What depth should the shelves be?
Twenty-four inches fits most totes and boxes, while 16″ is better where space is tight. You set the depth for each section in the planner.
Should I use OSB or plywood for the shelves?
Either works. OSB is cheaper and the planner’s default; plywood is stiffer and takes damp better. Use a thicker sheet or add joists if you expect heavy loads.