
Garage Workbench Plans
A workbench made from 2x4s and plywood is cheap, heavy and almost impossible to wreck. This guide walks through the build and shows the real cut list and cost for a 6-foot bench you can make in an afternoon or two.
Open the free planner Free · no sign-up · opens with a 6 ft bench, 24″ deep and 36″ high (change it once it opens)
What you'll need
Materials
- Eight 2x4 boards, 8 ft long (legs, rails and cross pieces)
- Two sheets of 3/4″ plywood, 4×8 ft (two layers for the top, plus the lower shelf)
- Screws: 3″ for the frame, 1 5/8″ and 1 1/4″ for the plywood
- 16 face-mount joist hangers for 2x4 (Simpson LU24 or similar) and two 1 lb boxes of 10d × 1 1/2″ connector nails
- Wood glue
- Oil or polyurethane for the top
Tools
- Miter saw or circular saw
- Drill/driver with a countersink bit
- Jigsaw (to notch the shelf around the legs)
- Clamps, speed square and level
- Sander or sanding block
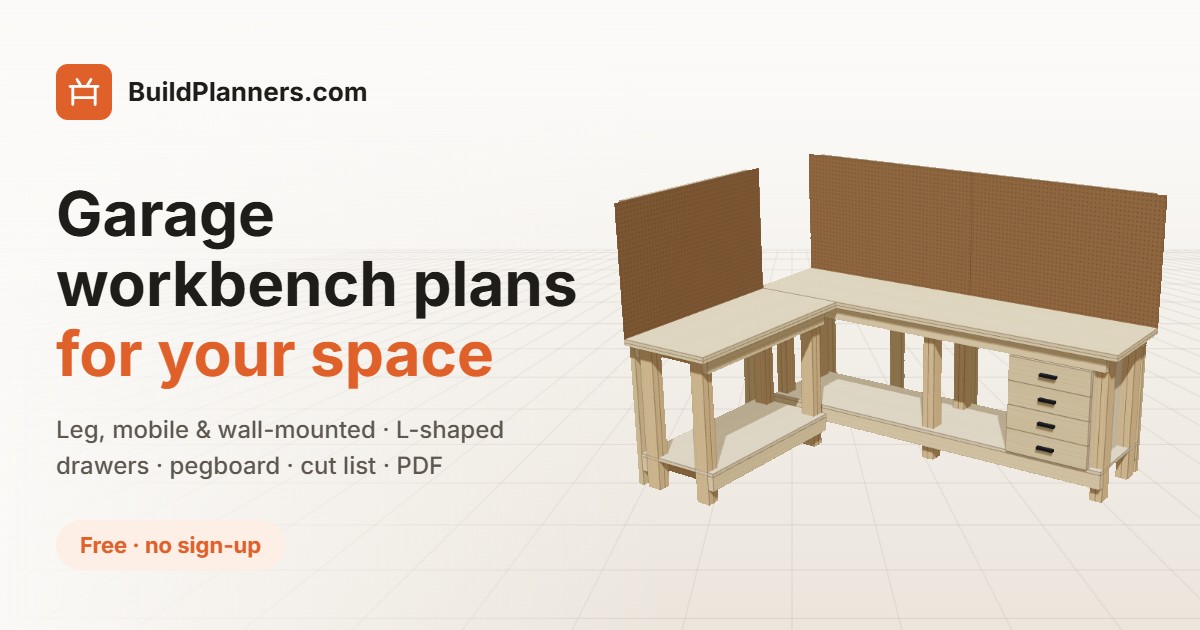
This list is for the 6 ft, 24″-deep, 36″-high straight bench with a lower shelf. The planner also handles L-shaped benches, mobile benches on casters, wall-mounted benches, and add-ons such as drawers, pegboard and upper shelves.
Step-by-step overview
- Choose the size. Pick the length, depth and top height. A common working height is the height of your wrist when your arm hangs at your side, which is often 34–38 inches. Measure the wall space before you commit.
- Cut all the parts. Cut everything from the cut list and label it. Square cuts matter most on the rails and cross pieces.
- Make the legs. Glue and screw two 2x4s face to face for each leg, and let them set straight. Doubling the 2x4s gives you a leg that is 3 inches square.
- Build the top and shelf frames. Make a rectangle from two 2x4 rails on edge, with cross pieces between them no more than 24″ apart. Nail a joist hanger to the rail at each cross-piece end and set the cross piece in it, with hanger nails in every hole. Check the diagonals match, then build the lower shelf frame the same way.
- Attach the legs. Stand the legs in the corners of the top frame, flush with the top, and fix each with three 3″ screws through the rail. Flip the bench over.
- Add the lower frame. Mark the height of the lower frame on the legs and screw it in the same way. Check that the legs are plumb.
- Fit the shelf. Notch the plywood shelf around the legs and screw it to the lower frame.
- Lay the top and finish it. Screw the first layer of plywood to the frame every 8″. Glue and screw the next layer on top, staggering the joints, and countersink every head. Ease the edges and finish the top with a few coats of oil or polyurethane.
Example cut list and cost
This is the planner’s default bench: 6 ft long, 24″ deep and 36″ high, with 2x4 legs made from doubled boards, a top made from two layers of 3/4″ plywood and a lower shelf. It gives you 12 square feet of work surface, and the planner estimates the top can carry about 850 lb.
Cut list
| Part | Material | Qty | Length |
|---|---|---|---|
| Leg | 2x4 | 8 | 34 9/16″ |
| Top rail | 2x4 | 2 | 66″ |
| Shelf rail | 2x4 | 2 | 66″ |
| Top cross piece | 2x4 | 4 | 19 1/2″ |
| Shelf cross piece | 2x4 | 4 | 19 1/2″ |
| Top (two layers) | 3/4″ plywood | 2 | 72″ × 24″ |
| Lower shelf | 3/4″ plywood | 1 | 66″ × 22 1/2″ |
That is 23 pieces, packed onto 8 boards and 2 sheets of plywood.
Shopping list and cost
| Item | Qty | Cost |
|---|---|---|
| 2x4 × 8 ft | 8 | $31.84 |
| 3/4″ plywood 4×8 sheet | 2 | $109.96 |
| Screws 3″ (box ≈ 72) | 1 | $11.98 |
| Screws 1 5/8″ (box ≈ 170) | 1 | $11.98 |
| Screws 1 1/4″ (box ≈ 215) | 1 | $11.98 |
| Face-mount joist hangers for 2x4 (Simpson LU24 / LUS24 or similar) | 16 | $23.68 |
| Connector nails, 10d × 1 1/2″ (about 96) | 2 | $19.96 |
| Wood glue | 2 | $11.96 |
| Estimated total (before tax) | $233.34 | |
Lumber and plywood are $141.80, and the bench works out to about $19 per square foot of top. Plywood is the biggest line, so the price swings with the grade you choose. Prices are typical big-box defaults you can edit in the planner.
Tips and common mistakes
- Square the frames before you fasten the legs. Equal diagonals on the top and shelf frames keep the bench from racking and the top flat.
- Glue the legs. A glued, screwed pair of 2x4s is far stiffer than a single board, and it costs almost nothing.
- Bolt it to the wall for stability. A wall-mounted rail or a couple of brackets into studs stops the bench walking when you clamp, plane or pound.
- Add a sacrificial top layer. A thin top sheet you can replace protects the structural layers from glue and sawcuts.
- Keep heavy things on the lower shelf. It lowers the centre of gravity and makes the bench much steadier.
- Check your height and space. Test the height with a tool in hand before you cut legs. If the bench rolls, remember casters add to the height.
Frequently asked questions
How much does it cost to build a workbench?
The 6 ft example costs about $233 in typical big-box prices: roughly $142 of lumber and plywood, plus screws, joist hangers and glue. Adding drawers, a pegboard back or casters raises the price.
How strong is a 2x4 workbench?
Very strong for a home shop. The planner estimates the default 6 ft bench top can carry about 850 lb spread evenly, and it recalculates when you change the size, leg type or cross-piece spacing.
What height should a workbench be?
Most people work comfortably with the top at 34 to 38 inches, which is the default 36″ here. Taller people or those who stand for hand-tool work may prefer a little higher.
Can I make it mobile or L-shaped?
Yes. The planner has a mobile option with locking casters, a wall-mounted option, and a straight or L-shaped layout, with drawers, pegboard, upper shelves and cabinets.
What plywood should I use for the top?
Two layers of 3/4″ plywood make a solid, flat top. Hardboard on top gives a smooth working surface, and a layer you can replace extends the life of the bench.